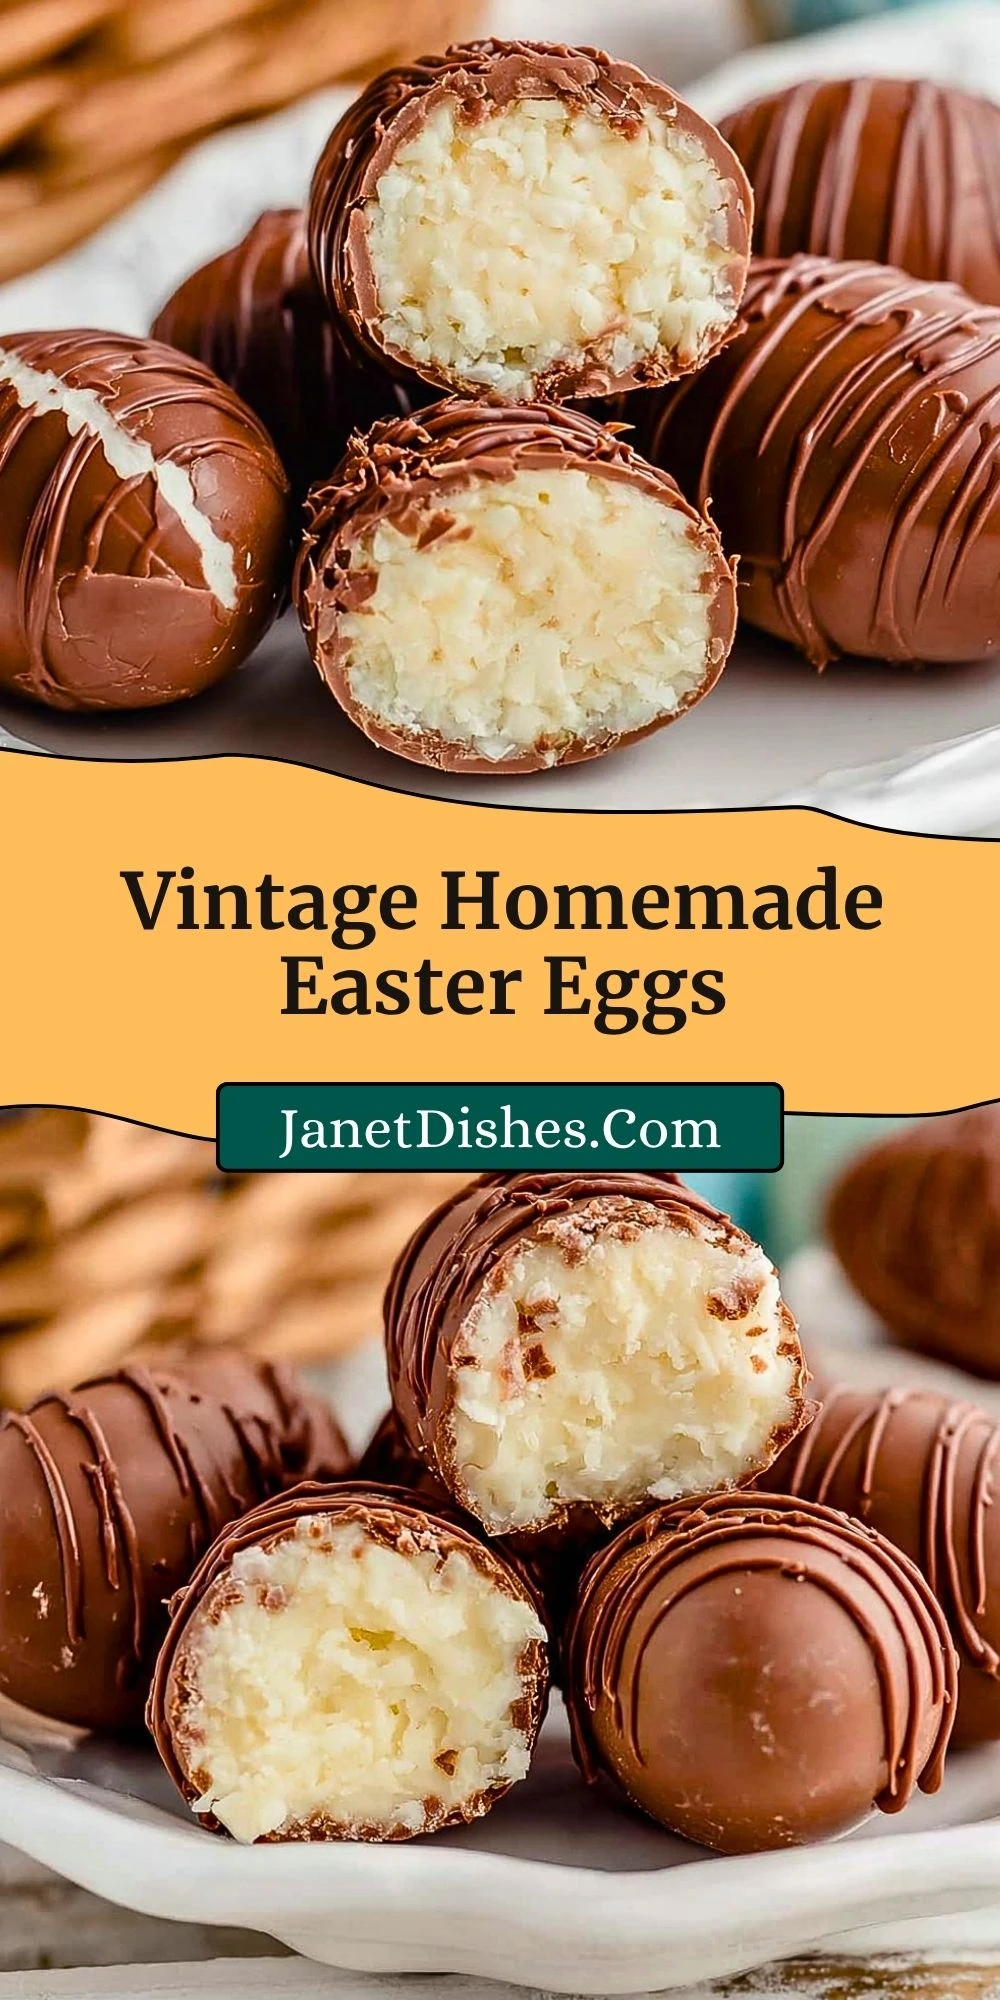

Vintage Homemade Easter Eggs are the kind of old-fashioned treat that instantly brings back spring memories. They have that soft, creamy center and sweet chocolate shell that make them feel extra special, whether you remember making them with family or you are trying them for the first time.
These homemade Easter eggs are a lovely addition to dessert trays, holiday gift boxes, and Easter brunch tables. They look impressive, but the process is simple and satisfying, especially if you enjoy classic no-bake sweets with a homemade touch.
Why You’ll Love This Vintage Homemade Easter Eggs
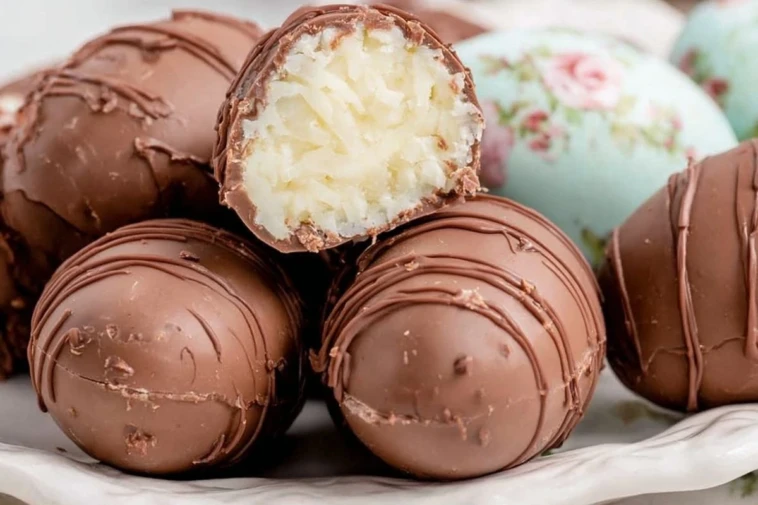
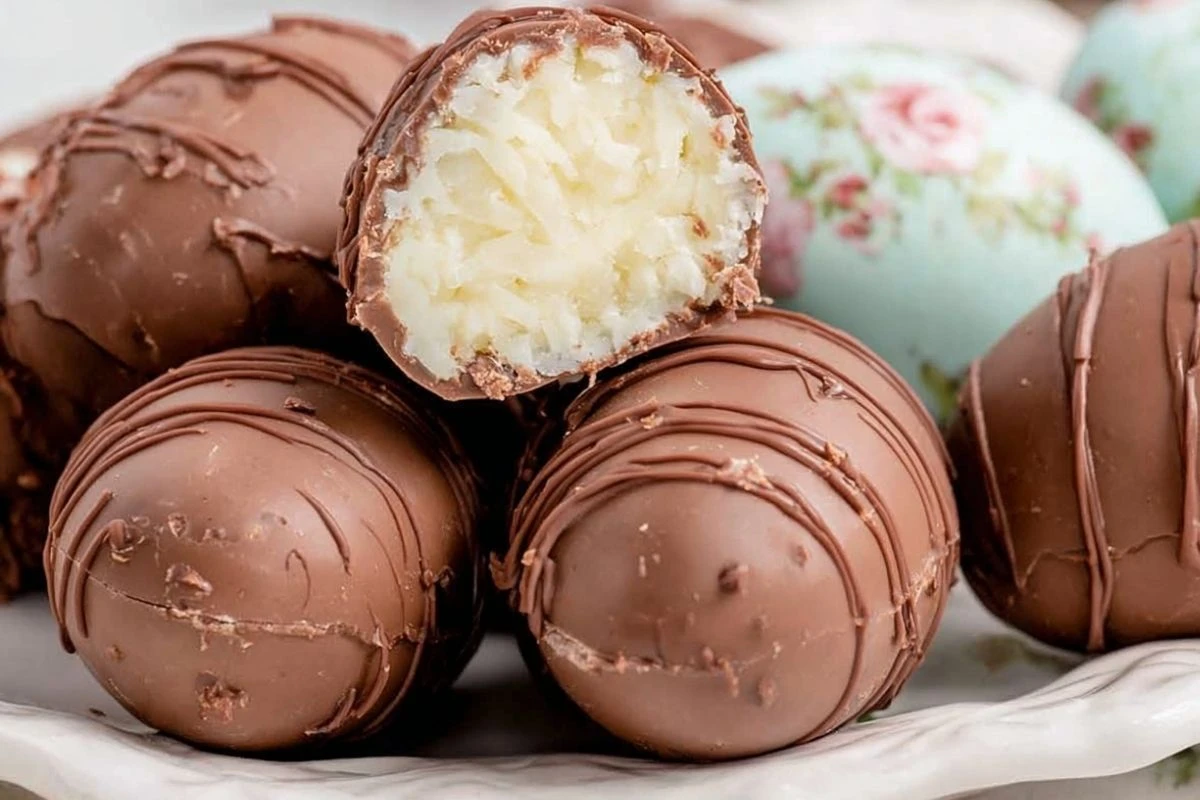
These Easter eggs have a rich, smooth filling that feels somewhere between buttercream candy and old-fashioned cream eggs. They are easy to customize with coconut, nuts, or a little vanilla, and they store well too, which makes them perfect for making ahead before a holiday gathering. The chocolate coating gives them that finished candy-shop look, but the centers still taste cozy and homemade.
What Makes Vintage Homemade Easter Eggs So Special?
What sets these apart is their nostalgic texture and flavor. The filling is soft, sweet, and rich without being complicated, and once chilled, it shapes beautifully into classic egg forms. They are the kind of treat passed down through handwritten recipe cards, church cookbooks, and family kitchens, and that timeless charm is part of what makes them so memorable.
Ingredients for the Vintage Homemade Easter Eggs
The ingredients for these vintage homemade Easter eggs are simple pantry and refrigerator staples, which is part of their charm. Each one has a job to do, from creating that creamy center to helping the chocolate coating set into a smooth shell. This is the kind of recipe where basic ingredients come together into something that feels festive and special.
Ingredients
- Butter brings richness and helps create that soft, creamy filling.
- Cream cheese adds tang and gives the center a smooth, velvety texture.
- Vanilla extract rounds out the sweetness and gives the filling a classic homemade flavor.
- Powdered sugar sweetens the filling and makes it firm enough to shape.
- Sweetened shredded coconut adds texture and old-fashioned flavor to the center.
- Chopped pecans give a little crunch and a nutty finish that works beautifully in this candy.
- Semi-sweet chocolate chips create the coating that turns the filling into a proper Easter egg candy.
- Coconut oil helps the melted chocolate coat the eggs more smoothly.
- Pinch of salt balances the sweetness and keeps the filling from tasting flat.

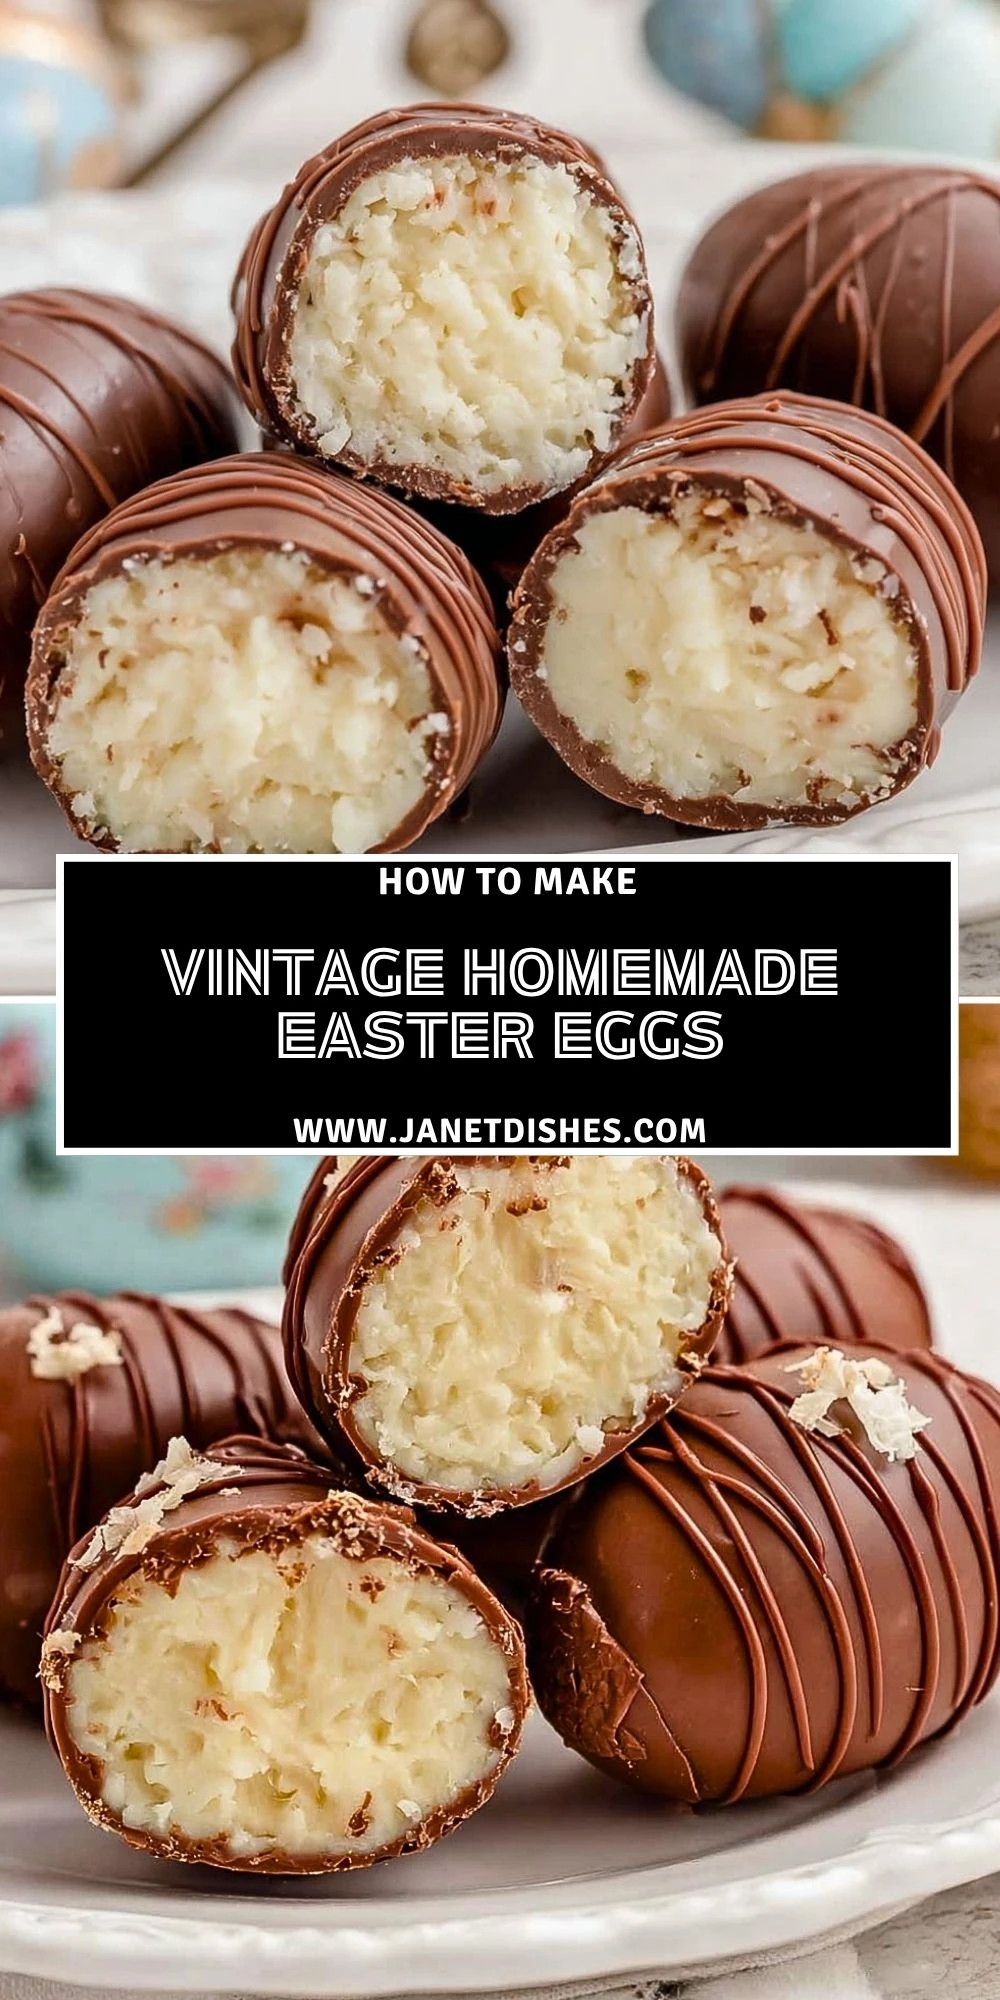
How To Make the Vintage Homemade Easter Eggs
How to make these vintage homemade Easter eggs is easier than you might think, especially once the filling is chilled and ready to shape. Take your time with the chocolate coating and keep the eggs cold while you work for the neatest finish.
Step 1: Make the Creamy Filling
In a large mixing bowl, beat the softened butter and cream cheese until completely smooth. Add the vanilla extract and pinch of salt, then gradually mix in the powdered sugar until a thick dough forms.
Step 2: Fold in the Texture
Stir in the shredded coconut and chopped pecans until evenly distributed. The mixture should feel soft but hold together when pressed. If it seems too sticky, chill it for 20 to 30 minutes before shaping.
Step 3: Shape the Eggs
Scoop portions of the filling and roll them into oval egg shapes with your hands. Place them on a parchment-lined tray and transfer the tray to the refrigerator or freezer until the eggs are firm.
Step 4: Melt the Chocolate
Add the chocolate chips and coconut oil to a microwave-safe bowl. Heat in short intervals, stirring between each one, until the chocolate is smooth and glossy.
Step 5: Dip and Set
Using a fork or dipping tool, lower each chilled egg into the melted chocolate and coat it fully. Let the excess drip off, then return the eggs to the parchment-lined tray. Chill again until the chocolate is fully set.
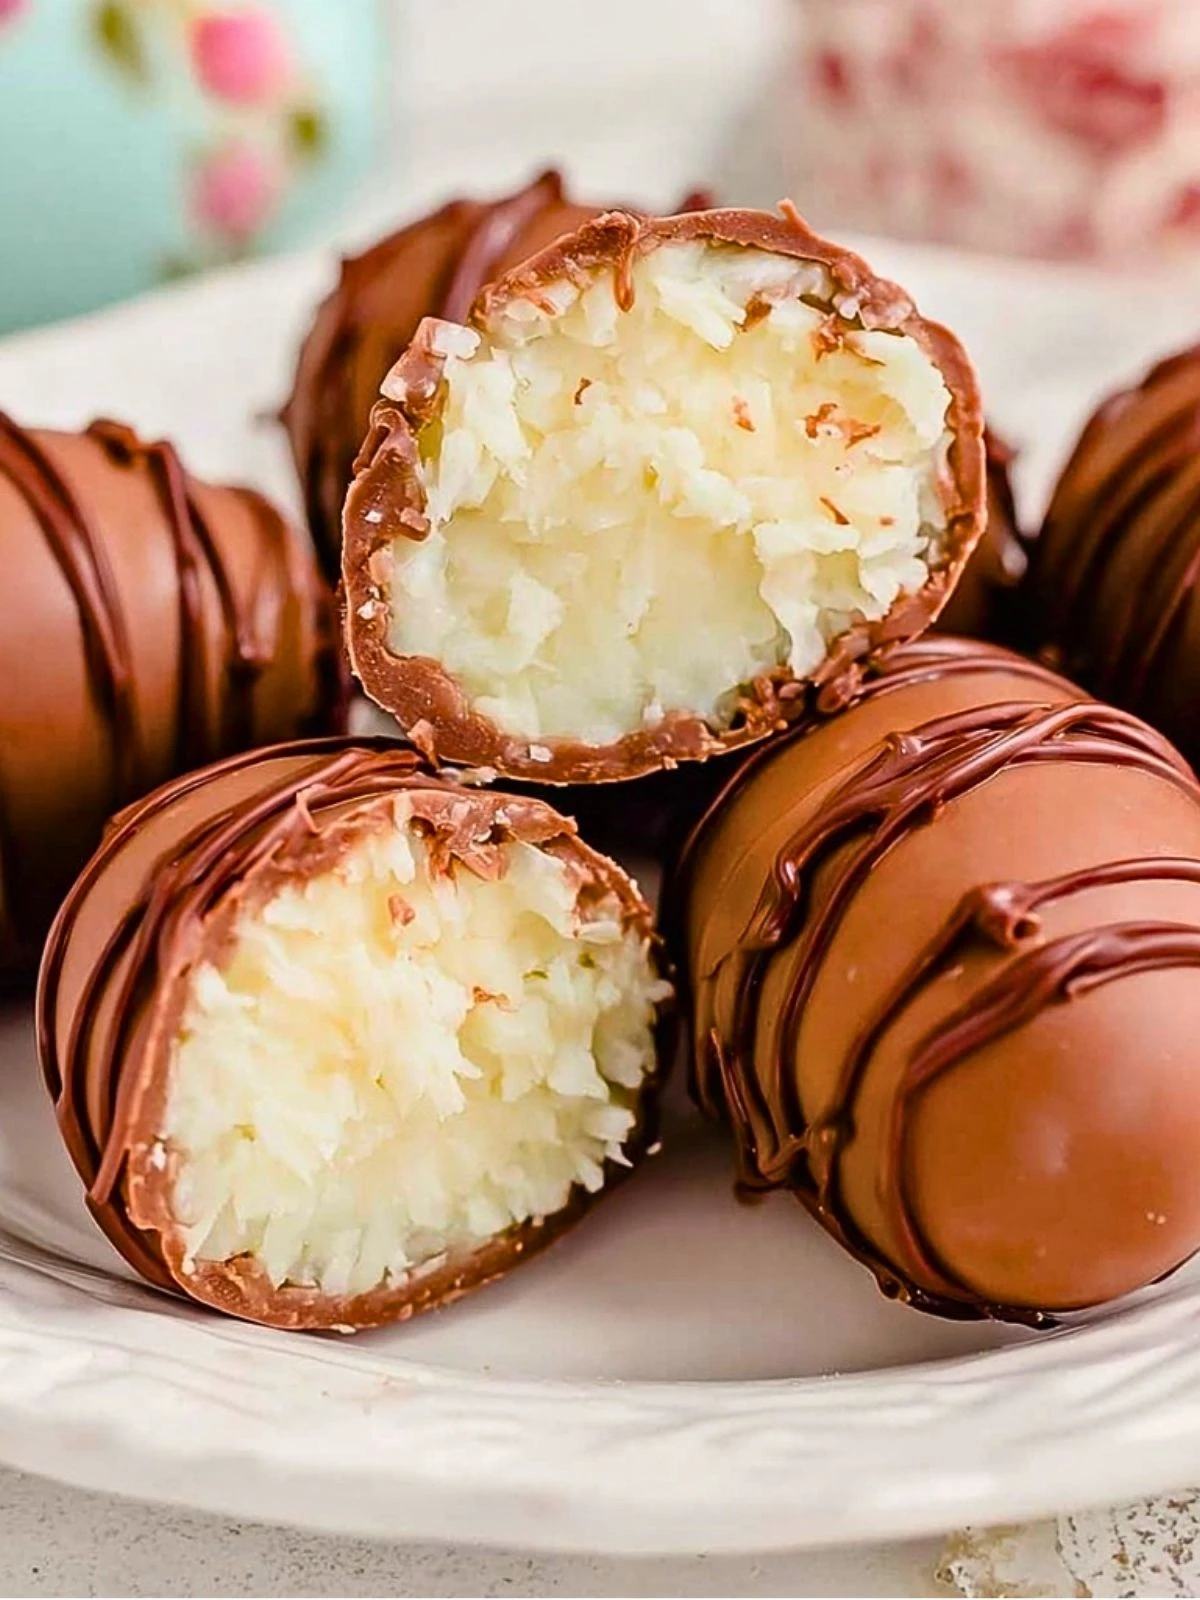
Step 6: Finish and Serve
Once the coating is firm, the eggs are ready to serve. You can leave them plain for a simple vintage look or drizzle with a little extra chocolate for decoration.
Serving and Storing Vintage Homemade Easter Eggs
This recipe makes about 18 to 24 Easter eggs, depending on how large you shape them, and it comfortably serves 8 to 12 people as part of a dessert spread. They are lovely served chilled or slightly cool, especially on holiday dessert trays with cookies and other spring sweets.
Store the eggs in an airtight container in the refrigerator for up to 1 week. If you want to make them further ahead, they also freeze well. Place them in a single layer until firm, then transfer them to a freezer-safe container with parchment between layers. Let them sit in the fridge for a few hours before serving.
What to Serve With Vintage Homemade Easter Eggs
Fresh Strawberries
The bright, juicy freshness of strawberries balances the sweetness of the candy beautifully.
Hot Coffee
A warm cup of coffee cuts through the richness and makes these eggs feel even more like a special after-dinner treat.
Easter Sugar Cookies
Soft sugar cookies make a cheerful holiday pairing and turn your dessert table into something extra festive.
Lemon Truffles
Something citrusy alongside these creamy chocolate eggs adds contrast and keeps the dessert selection from feeling too heavy.
Vanilla Ice Cream
A small scoop of vanilla ice cream next to one of these eggs creates a simple plated dessert that feels surprisingly elegant.
Fresh Pineapple or Grapes
A fruit plate adds a refreshing bite between richer desserts and works especially well for brunch gatherings.
Carrot Pound Cake
If you are building a full Easter dessert spread, a slice of carrot cake beside these eggs feels classic and seasonal.
Want More Easter Dessert Ideas?
If you love old-fashioned treats and festive spring sweets, you might also enjoy Easter Chocolate Lasagna, Easter Cake Mix Cookie Bars, Lemon Truffles Recipe, Carrot Pound Cake with Vanilla Glaze, and Classic French Butter Cookies. Each one brings a different kind of sweetness to the table, from bright citrus to rich chocolate to soft buttery bites that fit beautifully into an Easter dessert spread.
Save This Recipe For Later
Save this recipe to your Pinterest dessert board so you can come back to it any time.
And let me know how your Vintage Homemade Easter Eggs turned out. Did you keep them classic with coconut and pecans, or add your own family twist? Homemade candy always has a way of becoming personal, and that is part of the fun.
I love hearing how people bring these nostalgic recipes to life in their own kitchens. If you want more sweet ideas for every season, explore Janet Dishes on Pinterest for even more daily recipe inspiration.
Conclusion
Vintage Homemade Easter Eggs are one of those treasured holiday recipes that never really go out of style. They are creamy, chocolatey, easy to make ahead, and full of homemade charm. Whether you serve them at Easter brunch, package them as gifts, or keep them tucked in the fridge for a quiet sweet treat, they bring a little tradition to every bite.
Vintage Homemade Easter Eggs
- Total Time: 35 minutes plus chilling
- Yield: 20 eggs
- Diet: Vegetarian
Description
Vintage Homemade Easter Eggs are a classic no-bake Easter candy made with a creamy sweet filling, coconut, pecans, and a rich chocolate coating. These old-fashioned homemade Easter eggs are perfect for holiday dessert trays, edible gifts, and make-ahead Easter treats that bring nostalgic flavor to every bite.
Ingredients
8 oz cream cheese, softened
1/2 cup unsalted butter, softened
1 tsp vanilla extract
1 pinch salt
4 cups powdered sugar
2 1/2 cups sweetened shredded coconut
1 cup chopped pecans
12 oz semi-sweet chocolate chips
2 tbsp coconut oil
Instructions
1. In a large mixing bowl, beat the cream cheese and butter until completely smooth.
2. Mix in the vanilla extract and salt.
3. Gradually add the powdered sugar and continue mixing until a thick dough forms.
4. Fold in the shredded coconut and chopped pecans until evenly combined.
5. Chill the mixture for 20 to 30 minutes if needed, until it is easier to handle.
6. Scoop portions of the filling and shape them into egg forms.
7. Place the shaped eggs on a parchment-lined tray and chill until firm.
8. Melt the chocolate chips and coconut oil together in short intervals, stirring until smooth.
9. Dip each chilled egg into the melted chocolate and let the excess drip off.
10. Return the coated eggs to the tray and chill until the chocolate is fully set.
11. Serve chilled or slightly cool.
Notes
Keep the eggs cold while dipping so they hold their shape and coat more neatly.
If the filling feels too soft to shape, chill it a bit longer before forming the eggs.
Use a fork or candy dipping tool for the smoothest chocolate coating.
- Prep Time: 30 minutes
- Cook Time: 5 minutes
- Category: Dessert
- Method: No-Bake
- Cuisine: American
Nutrition
- Serving Size: 1 egg
- Calories: 245
- Sugar: 24g
- Sodium: 65mg
- Fat: 13g
- Saturated Fat: 8g
- Unsaturated Fat: 4g
- Trans Fat: 0g
- Carbohydrates: 31g
- Fiber: 2g
- Protein: 2g
- Cholesterol: 22mg